Showing posts with label Christmas Tree Skirt. Show all posts

Tuesday, December 19, 2023

Advent Parade of the Christmas Quilts, 2023!

Happy Hanukkah to my Jewish friends and Happy Final Week of Advent to my Christian friends!  Have you finished your shopping yet?  I've shopped, wrapped, packed, and shipped all the gifts that need shipping, but still have some shopping left to do for my husband my sons.  I've finished the client quilts in my queue that had holiday deadlines so now I can officially switch gears into Santa Mode!  Meanwhile, in keeping with the holiday spirit, I thought everyone might like to see a few of the Christmas quilts I've worked on this year.

Anna's Frosted Pines Tree Skirt

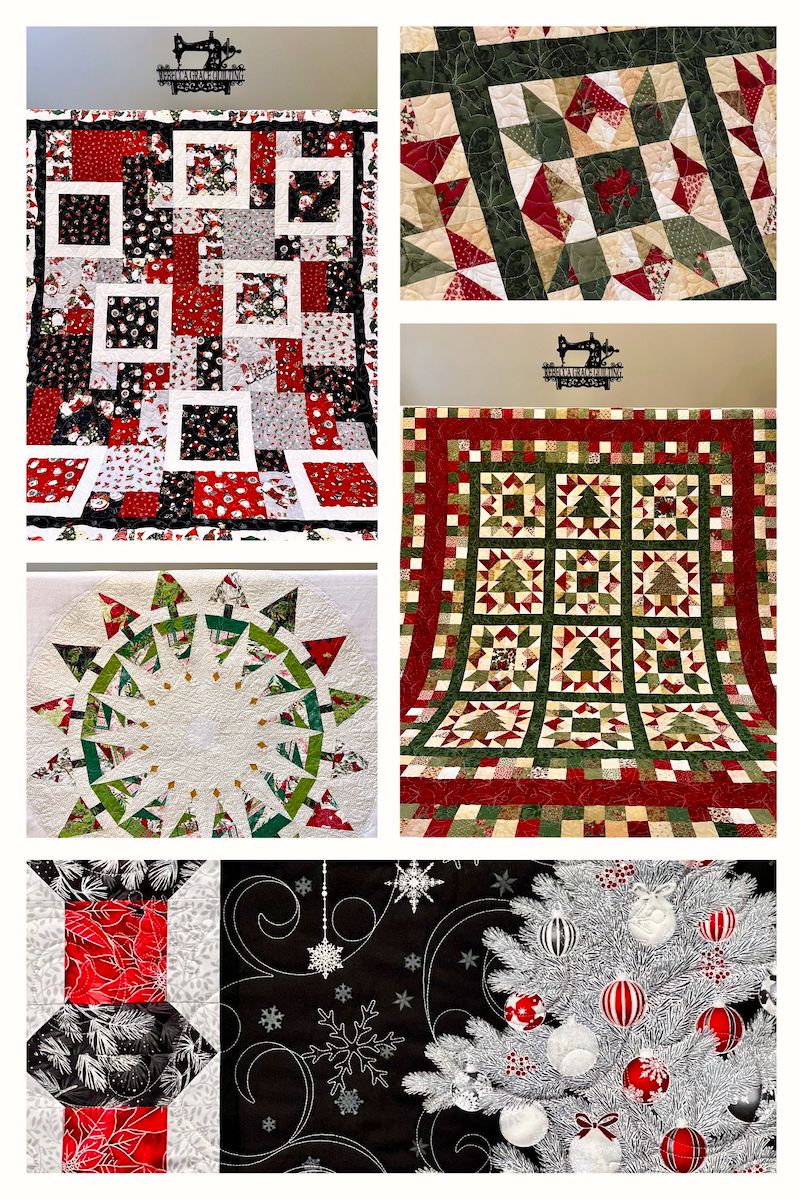
Up first is a Christmas tree skirt that I quilted for my client Anna.  Anna used the Frosted Pines Tree Skirt pattern by Stacey Day for Windham Fabrics, available as a FREE PDF download here.  I just love her fabric choices!

Anna's 48" Frosted Pines Christmas Tree Skirt

Quilting something round on a long arm frame is a little trickier than doing a square or rectangular quilt.  This was one of the rare times that I "floated" the quilt top, since there is no straight edge along the bottom to pin to my leader canvas.  A lot more extra backing and batting are needed, the same amounts as if the quilt top had been a 48" square instead of a circle, and it took a little longer to trim each row of the quilting design at an angle each time I advanced the quilt on the frame to ensure that the quilting fully covered the circular quilt top without wasting too much time and thread quilting beyond the edges of the skirt and onto the batting.  I used the Angle Trim feature that had just been released with an update to my Bernina QMatic software a few weeks before this quilt went on my frame.

Thursday, December 28, 2017

Luxury DIY Christmas Tree Skirt for Mom

Happy Fourth Day of Christmas!  I realize that this post would have been more timely if I'd written it a couple of weeks BEFORE Christmas, but I made this tree skirt as a surprise gift for my mother (and she does read my blog).  However, if your own tree skirt has seen better days, or you're looking at a bare tree stand now that the gifts have all been unwrapped, I encourage you to make yourself a custom tree skirt for next Christmas.  


58" Lined Microsuede Velvet ChristmasTree Skirt with Trim
When my mom mentioned that she lost her Christmas tree skirt during her last move, I started shopping for a new one that I could gift to her for Christmas.  I had some serious sticker shock at the Peppermint Forest Christmas Shoppe, where they had tree skirts made out of flimsy polyester fabric (like what a toddler Disney Princess costume would be made of) retailing for $150 or more.  Then I checked online at Horchow and Frontgate, where they had much nicer quality tree skirts but even more outlandish price points of $500, $600, even $700...  And that's for a mass-produced tree skirt with limited fabric and color options.  When you're making your own tree skirt, you can get the size you want, the colors you want, and decorate it any way you want.

This isn't the first Christmas tree skirt I've ever made.  The crazy quilted and hand-embellished tree skirt I made for my own Christmas tree was fun to make but largely a wasted effort, since the vast majority of my hand embroidery and hand stitched sequins and beads get hidden beneath the branches of the tree:


My Crazy Quilted Tree Skirt, Completed in 2010
I worked on that crazy quilted tree skirt off and on for about two years, and I wouldn't ever make one like that again.  It would have been much better to do crazy quilted stockings or even a table runner, something closer to eye level where all those decorative bobbinwork machine stitches and handwork can be seen and appreciated.  


I Had to Crawl Under My Christmas Tree to Take This Picture
There is so much going on visually with most Christmas trees anyway, what with all the ornaments and packages, that I really prefer a solid tree skirt with embellishments at the outer border where they can make a strong impact. 

So, back to this year's project for my mom's tree!  She decorates her tree primarily with red and gold ornaments, with a sprinkling of black music ornaments in the mix.  I made her skirt out of a 60" wide, deep red home dec microsuede velvet home dec fabric that was very stable with a nice drape and no rubbery upholstery backing.  I started with this tutorial from Mary Jo's Cloth Store:


Mary Jo's Tree Skirt, Tutorial Found here
The Mary Jo's tutorial is easy enough to follow for anyone who has prior experience sewing window treatments and other home dec items, but those whose sewing experience is primarily quilting or apparel could probably use the following additional tips and tricks.

Choosing your Fabric:  For this project, a home dec weight fabric is going to be your best choice, along with a drapery lining fabric.  A lightweight quilting cotton isn't going to be wide enough to cut a full size tree skirt in a single piece, and since there is no batting in this skirt it would also be too flimsy to support the heavy machine stitched trim.  You need about a yard and a half each of 54-60" wide home dec fabric and the same amount of drapery lining fabric.

Covered Cording: The Mary Jo's tutorial uses a narrow covered welt cord around the outer and inner edges of the skirt, which you don't even notice unless you look closely at the photo.  This cording serves an important function, because it keeps the lining fabric from sagging and showing along the outside edge of the skirt once it's under your tree.  However, covering 6 yards of cording with fabric adds extra work to the project and if you use the same fabric as your tree skirt like they did, you don't get any extra dramatic impact from all of that work.  I could have covered my welt cord with a contrasting fabric, or done a shirred jumbo welt cord in a contrasting fabric, but I decided to use a 3/8" decorative rope cord instead.  


Shirred Jumbo Welt Cord Would Look Great On a Tree Skirt, Too
You can read about my tips and tricks for covering welt cord with fabric in this post, and you can read about my tips for sewing in-seam decorative rope cording here.  With fabric covered cord, the challenge is feeding the two fabric layers evenly through the machine, so I use Dual Feed on my Bernina sewing machine with large diameter welt cord, but I get the best results with 3/4" diameter welt cord when I use my serger.  With in-seam rope cord, the challenge is sewing close enough to the cord that the fabric tape "lip" doesn't show.

Trimming Your Tree (Skirt): Ideally, if you're going to use multiple trims on the same tree skirt, you want to select coordinating decorative rope cord, fringes and braids from the same collection.  You would think that, as an interior designer with access to a bazillion fabrics and trims, I could have found coordinating trims for this project, but alas -- there was no time for me to custom order anything and I was limited to what was in stock at my local JoAnn's store.  I loved the black and white pom pom fringe but there was no coordinating rope cord to go with it, just this plain black cord...  and some Snow White DMC embroidery floss over in the cross stitch aisle...


DIY "Matching Rope Cord" Trim
I used a size 22 tapestry needle and unseparated embroidery floss, all 6 strands, to whipstitch my white stripes around the black cording, but had to go over each stitch twice so it would stand out enough.  That means each stitch ended up with a total of 12 strands of embroidery floss.  I think I used three or three and a half skeins of floss to go around my whole skirt, and it took several hours -- on December 23rd, mind you, racing against the Advent clock!  But I liked the tree skirt MUCH BETTER after I added the white stitching to the black cord, so it was worth it.


Ta Da!  Matching Trims!
The biggest omission with the Mary Jo's tutorial is that they tell you to "sew fringe inset from your corded edge," but they don't tell you how to get your fringe lined up in a smooth curve equidistant from the edge of the skirt.  If you try to just eyeball it as you stitch the trim down, you'll end up with a wobbly mess.  Here's the trick I came up with for mine:


Marking Fringe Placement Inset 5" from Rope Cord
I chose a 5" tall plastic spool of giftwrap ribbon and "drove" it around the outer edge of my tree skirt, with the bottom edge of the spool riding in the groove between the black rope cord and the red fabric edge. (Note that the fringe gets sewn to the tree skirt PRIOR to lining it.  The seam allowance with the lip cord is merely rolled to the back side in this picture to enable me to get the ribbon spool right up against the cord edge).  The top edge of the plastic spool left a temporary track in the microsuede velvet pile in a smooth curved line spaced exactly 5" from the edge of the tree skirt.  I was then able to pin my fringe along that line, with pins as close as an inch or so apart so the fringe couldn't move out of place on the way from the worktable to the sewing machine.


Because my tree skirt is made of home dec weight microsuede, I used a size 90 Microtex needle and regular polyester all purpose sewing thread for this project, in black to match my trim.  I sewed the rope cord and fringe with a regular straight stitch, elongated to 3.5, but with no other tension adjustments.  I sewed the rope cord with Zipper Foot #4D and sewed the fringe with Open Toe Embroidery Foot #20D, engaging Dual Feed for both tasks.  


Machine Stitching the Inset Pom Pom Fringe
I sewed the fringe down in two passes, placing my stitching just inside the white running stitch embellishment on the fringe.  There IS such a thing as fringe adhesive, by the way, and gluing the trim to the skirt is an option.  However, so many of us store our holiday decorations in areas that are subject to extreme temperatures and humidity, and then we would be dragging gifts back and forth across the glued-on fringe, and i don't think the glue would hold for very long in those conditions.  Stitching the trim is the way to go.

So here you have the finished tree skirt, draped over my ironing board upon completion just after the stroke of midnight announcing the arrival of Christmas Eve:


Finished, In the Very Nick of Time!
...and here it is again, beneath my mom's tree:


Finished Tree Skirt, Beneath the Tree
There was a little bit of silliness initially about the tree skirt being "too nice to go on the floor," but then after running the vacuum cleaner she agreed to put the Christmas tree skirt on the floor beneath the tree as I had intended.  I think she likes it.


Mom's Christmas Tree, Naked No More!
So, that's what I was sewing last week when my blog was silent!  It's a good thing I finished on time, since I had no backup plan...  My mom did some Christmas sewing of her own, making pajama pants for Lars and Anders that were a huge hit.

As for me, this project reminded me that as much as I enjoy the "journey" of making, it really does feel good to FINISH something every once in awhile!  Now that the cookies have all been eaten and the wrapping debris has all been thrown away, I'm mulling my options for what to sew next. It sure would be nice if 2018 could be the Year I Finally Finished a Bunch of Stuff!

Today I'm linking up with Esther's WIPs on Wednesday, Can I Get a Whoop Whoop? at Confessions of a Fabric Addict, Off the Wall Friday at Nina-Marie's Creations, Let's Bee Social at Sew Fresh Quilts, and Midweek Makers at Quilt Fabrication.  Enjoy these last few days of 2017!

Sunday, December 21, 2014

I Found the Perfect Christmas Tree Skirt!

"Holy Night" Appliqued Christmas Tree Skirt, available from Novica
I found the perfect Christmas tree skirt!  I know, I had planned to make one myself, but when I saw this "Holy Night" appliqued Christmas tree skirt on Novica's web site, it was exactly what I was looking for in so many ways.  Novica is fair trade organization with ties to National Geographic and Unicef that works to create opportunities for economically disadvantaged artisans around the world to sell their handmade goods for fair prices.  A Peruvian artisan named Balvina Huaytalla created this predominantly blue "Holy Night" tree skirt, which is perfect for tying in the blue star on my kitchen Christmas tree, and the folk art style of the dimensional stuffed applique complements the kiddo-themed ornaments on that tree as well (toys, sweets, and handmade ornaments going back to the boys' preschool years).  More importantly, I love that this tree skirt depicts the nativity, a reminder that the gift of our Redeemer's birth trumps any other gift we might find beneath the tree.  My parents used to set up a nativity scene beneath our Christmas tree, but when I tried that a couple years ago baby Jesus was abducted by our dog...  Since this holy family is stitched securely to the tree skirt, they should be safe from Lulu the Treacherous!

So, here's the Kitchen Christmas tree with the new tree skirt:
Kitchen Kiddo Tree with Nativity Tree Skirt
See how the blue at the bottom of the tree helps the blue star look less out of place?
Isn't it beautiful?
The Holy Family, Safe from Wicked Dogs

Could I have made my own version of this tree skirt instead?  Sure, but it would have taken a long time and I might not have finished it in time for Christmas this year.  Moreover, ripping off the artist's design instead of buying her tree skirt is really the OPPOSITE of fair trade, isn't it?

So, back to my pineapple log cabin quilt!  Happy Hannukah to all of my Jewish friends, and Happy Advent and Merry Christmas to my Christian friends and family.  May we all experience God's presence and peace this holiday season.

Monday, December 8, 2014

My Son Lars, Designer of Festive Holiday Decor

Remember how my 13-year-old son Lars took the Advanced Drawing EQ7 software class with Barb Vlack at Quilt Week over the summer?  Well, we need a new tree skirt for one of our Christmas trees, and I asked Lars to design one for me in EQ7.  This is what he came up with:

48" Diameter Christmas Tree Skirt, Designed by Lars

Hmmm...  Joy to the world, anyone????  I think it looks like that German Krampus devil that supposedly comes to punish all the bad kids who ended up on Santa's Naughty List:

See the resemblance?  Anyway, back to the drawing board, because that creepy dude is NOT going under my Christmas tree!

This is more of what I had in mind:
48" Diameter Tree Skirt, Designed by Mom

The fabrics are not to scale and the color is a little off since they are snapshots taken with my phone rather than scanned images, but you get the general idea.  I wonder if this is too ambitious to try to make before Christmas?  It's for the Christmas tree in my kitchen, which is decorated with ornaments that look like candy, gingerbread men, toys, and brightly colored balls.  It has a blue star on top.  I have novelty print fabrics with Christmas cookies, peppermint candies, hot chocolate, and some pretty blue fabrics with snowflakes, as well as a red, green and pink stripe fabric that reminds me of peppermint sticks that I'm planning for the binding. 

Now that I drew this lovely tree skirt on the computer, I wonder if I can figure out how to actually MAKE it?

I'm going to link up with Design Wall Monday at Patchwork Times and with Anything Goes Monday at Stitch By Stitch.