
Happy Thursday, Friends! I just finished writing a different blog post for TGIFF (Thank Goodness It's Finished Friday) that I've scheduled to publish automatically at 6 PM EST this evening, since that's when Friday begins for those linking up from Australia, so be sure to check back for that one and link up your own finishes, even if it's a small finish like a single block completed. Meanwhile, I have a couple of extra-special client quilts that I've been wanting to share with you.
Julie's Vintage Equestrian Applique Quilt Repair
This first one belongs to Julie, whose puppy chewed a hole through all layers of the quilt at the top edge. These dogs sure do keep me busy, don't they?! I neglected to get a good "before" phot of the entire quilt before I started working on it, but here's what it looked like when it was nearly ready to go home again:
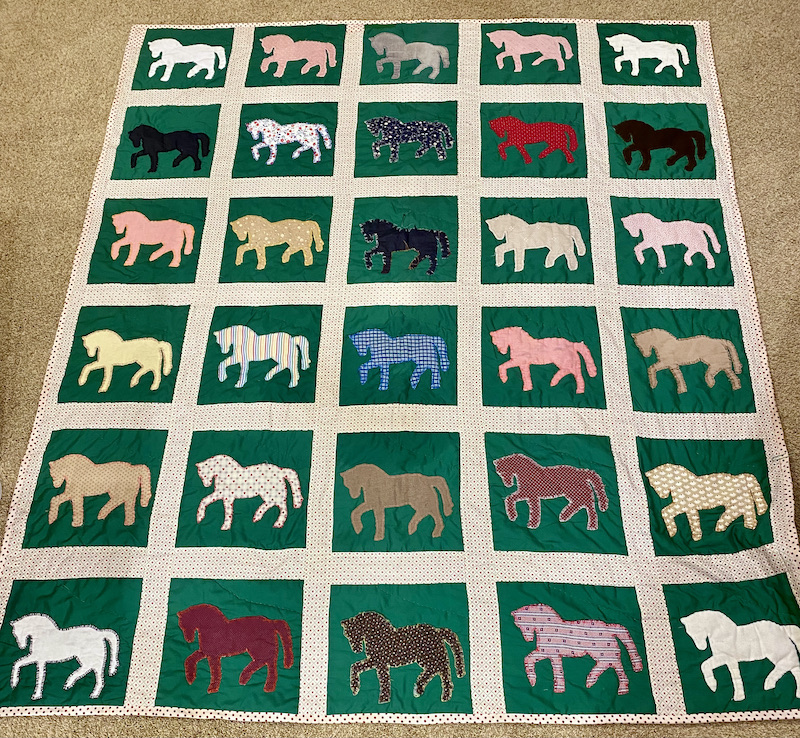 |
| 74 x 84 Vintage Equestrian Applique Quilt, After Repair |
Julie cherishes this quilt because her husband had it custom made for her as a surprise gift many years ago. Their family is involved with equestrian sporting and I believe he may have even drawn the horse silhouette for the applique shapes himself. He found a quilter to make it and was given a shopping list of how much fabric was needed, then went to the fabric store and picked everything out himself -- hence the assortment of calicos, corduroys, and poly blend fabrics in this quilt.
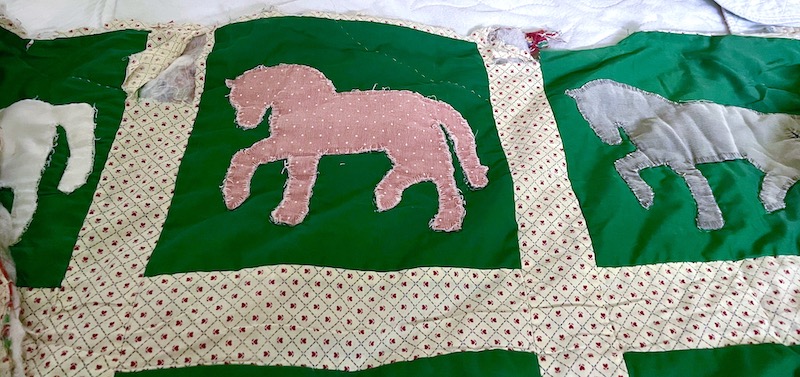 |
| Detail of the Worst Damage Area |
This quilt was made with a wide sashing between the blocks and a narrow, 1/2" finished width outer border in the same fabric that simply wrapped to the back of the quilt and was machine stitched in lieu of traditional binding.
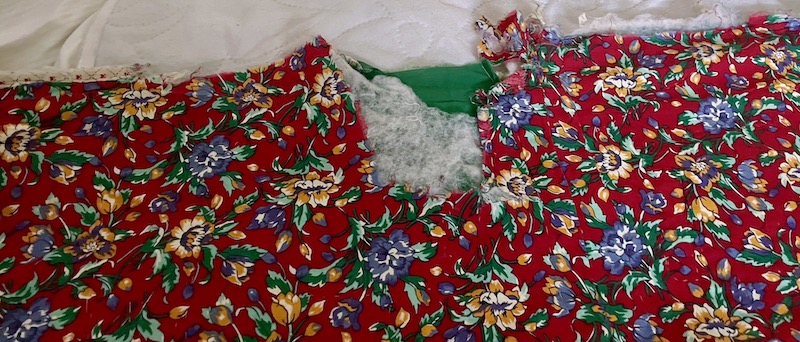 |
| Same Spot On the Quilt, Backing Side |
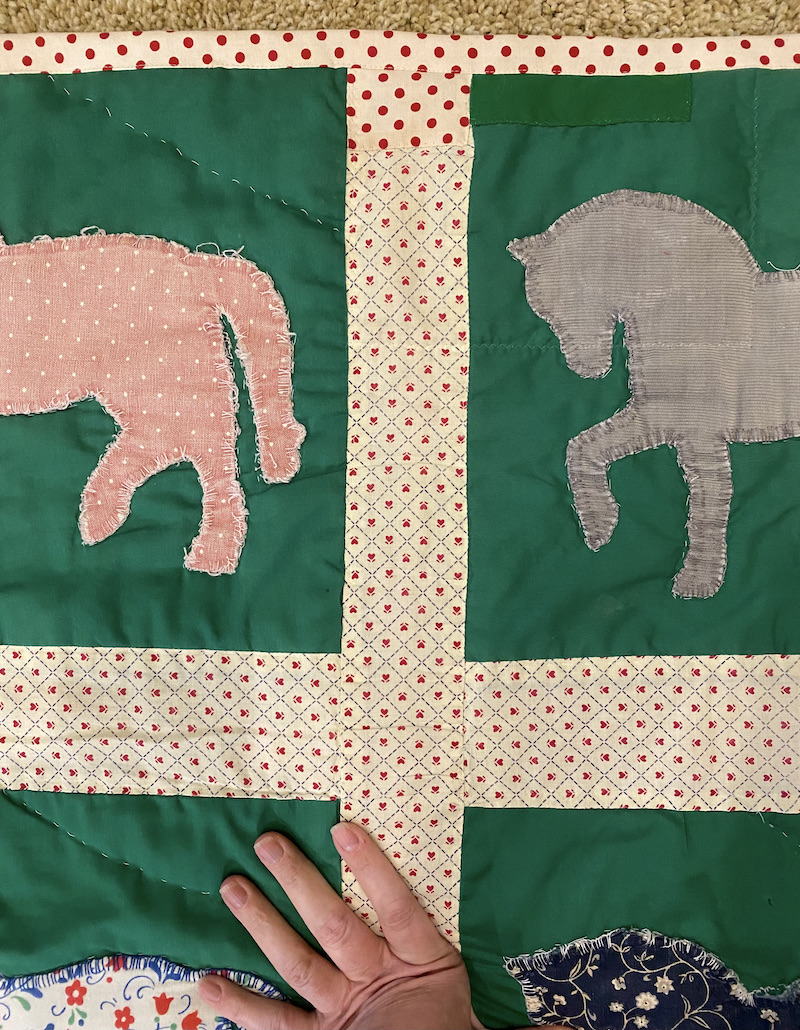 |
| Repairs Completed, All Machine Stitched |
My client's budget dictated that all of the machine repairs would be machine stitched for this project. The binding was damaged and falling off on all four sides of the quilt and would need to be replaced, and finding a suitable fabric was the biggest challenge. I'd initially told Julie that I'd use a solid red for the binding, but I couldn't bring myself to do it. My goal in restoring a family quilt like this is to have it look as much like it did originally as I possibly can, and although a red binding would look good on the quilt, it would definitely draw your eye and look different to its owners. I could not find anything like the original ivory/red/blue print calico fabric in any of the local quilt shops I visited, but I did find a red and white polka dot fabric. I was able to tone down the bright white background of the new fabric to better match the original fabric by coffee staining it before using it to repair the quilt.
If you look closely at the previous photo, you may be able to see my invisible monofilament zigzag stitch in a rectangular shape going through the gray horse appliqué, securing the large backing patch through all layers of the quilt. That backing patch was sewn with matching dark red thread in the needle and clear monofilament thread in the bobbin. Monofilament is not only colorless, but it's also extremely thin -- about the width of a human hair, but much stronger. That makes it ideal for machine stitching patches on a vintage quilt where you really don't want to see the machine stitches. Now, if this was a valuable antique quilt with historic value etc., I would not have wanted to repair it this way -- but this is a family quilt with sentimental value, and the monofilament zigzag stitch works really well for functional machine stitched repairs that don't jump out at you the way they would if regular sewing thread was used. When stitching patches on the top of the quilt, I used the invisible monofilament thread in my needle with dark red bobbin thread to match the backing fabric.
 |
| One of the Horse Appliqués Prior to Repair |
After patching those major holes and rebinding the quilt with my coffee-stained polka dot print, I used that same monofilament thread with a zigzag stitch to secure nine of the applique horses that were coming loose from the background fabric. Again, my goal was to secure the horses to prevent them from being torn right off the quilt, but I didn't want to cover or obscure the hand stitched blanket stitching or change the look of the appliqués in any way. I took some pictures of what the first horse looked like after I'd secured it with my invisible zigzag stitch, but there was nothing to see -- it LOOKED exactly the same; it just wasn't in danger of falling off anymore. Mission accomplished!
Carolyn's T-Shirt Quilt
This next quilt is imbued with meaning and memories as well. It's a T-shirt quilt that was begun by a young man's mother and grandmother about 25 years ago, using all of his favorite T-shirts from activities he'd enjoyed in his high school years, with a few shirts reaching back to his childhood. There are shirts from his youth group at church, Dilbert comic strips, swim team, debate team, theatre, band, Eagle scouts, and apparently he was also a Beatles fan and a lover of Spam.
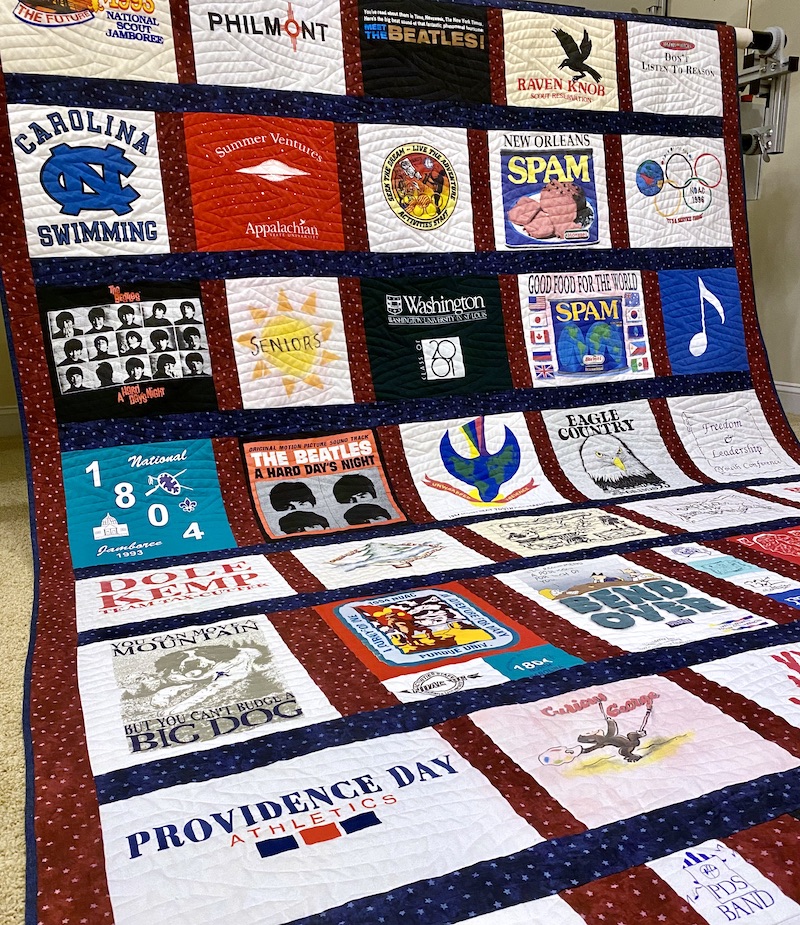 |
| 83 x 120 T-Shirt Quilt with Basketweave E2E |
After cutting up the t-shirts and sewing them together with the dark red and blue sashing fabric, the quilt top was set aside unfinished until the mother brought it to me for quilting and binding. I suggested the Basketweave edge-to-edge quilting design because it suggests both mountains and water, themes that tied in with several of the T-shirt designs but in a very understated way.
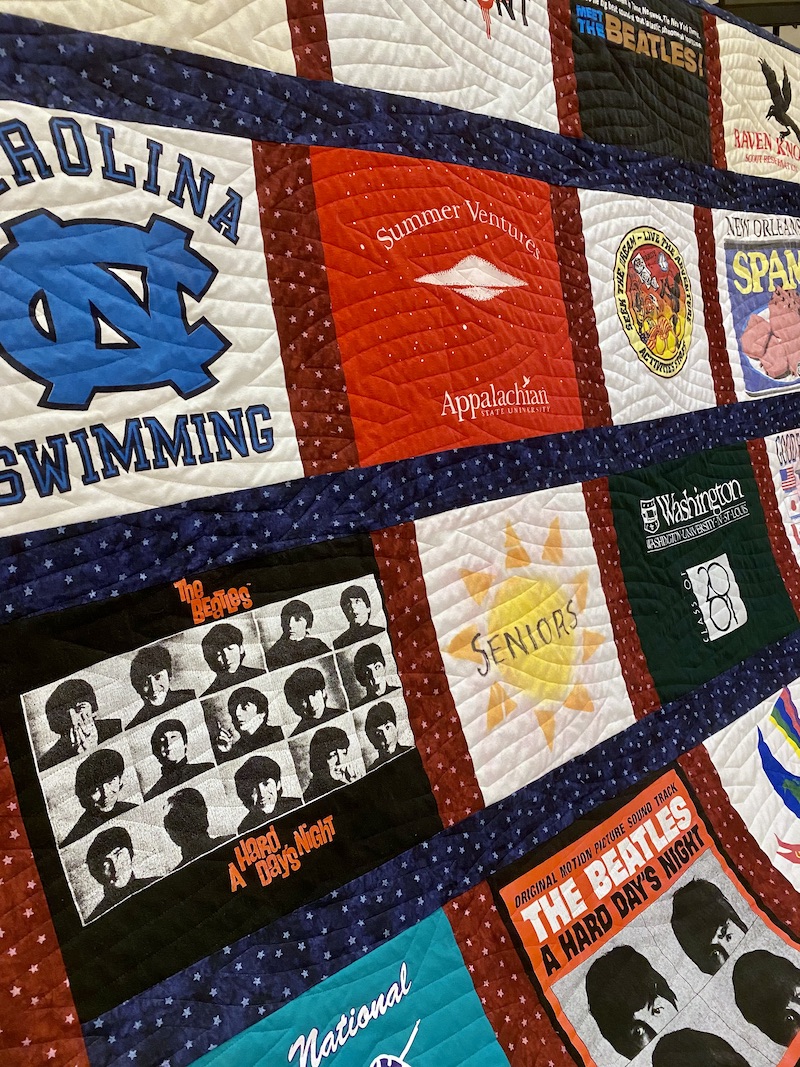 |
| Basketweave Design Stitched in MonoPoly Invisible Monofilament Thread |
Invisible monofilament thread was the best choice for this quilt as well, ensuring that the quilting design would secure the layers of the quilt and create texture without contrasting thread looking like scribbles on top of any of the T-shirts. When using invisible monofilament thread in my long arm machine, I like Superior's MonoPoly (affiliate link) and I'll pair it with either Bottom Line 60, Glide 60, or So Fine 50 weight bobbin thread.
...And Now, it is My Pleasure to Introduce You to Dame Elizabeth Taylor!
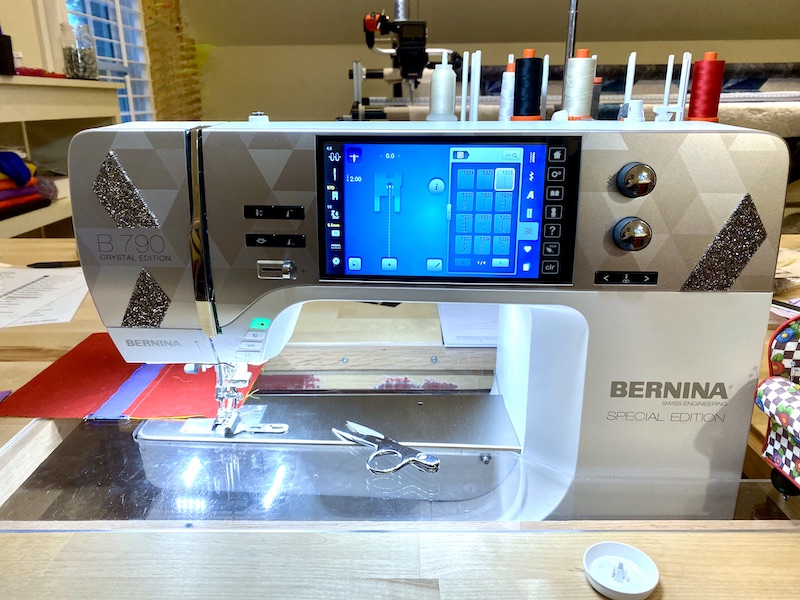 |
| My New Main Squeeze: Bernina 790 Plus Crystal Edition |
Yes, I've named my new sewing machine after the late film icon, Elizabeth Taylor. See any similarities?
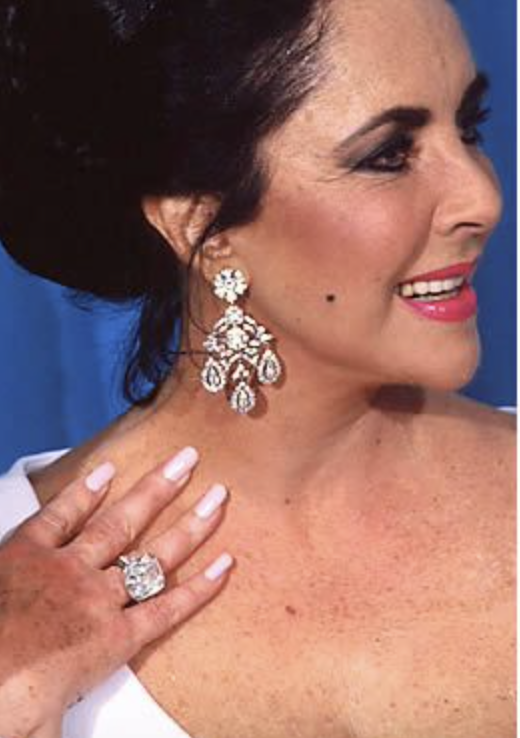 |
| Academy Award Winner and Bling Enthusiast, Elizabeth Taylor |
After 10 years of faithful service, I decided to trade in my Bernina 750QE for a newer model, the 790 Plus Crystal Edition. It comes with a faster, smoother embroidery module, Stitch Designer (the ability to create brand new stitches and/or alter the stitches that come built into the machine), a redesigned and improved hook system, a larger interface touch screen that is easier on my middle-aged eyes, hundreds of additional stitches and lots of other upgrades. But it also comes with a special edition faceplate adorned with Swarovski crystals. My husband says that it looks like the Grip Strip tape he used to use on his skateboards, and also that Bernina is marketing to me like I'm a fish that will go after any sparkly thing that lands in the water -- and I fell for it hook, line and sinker!
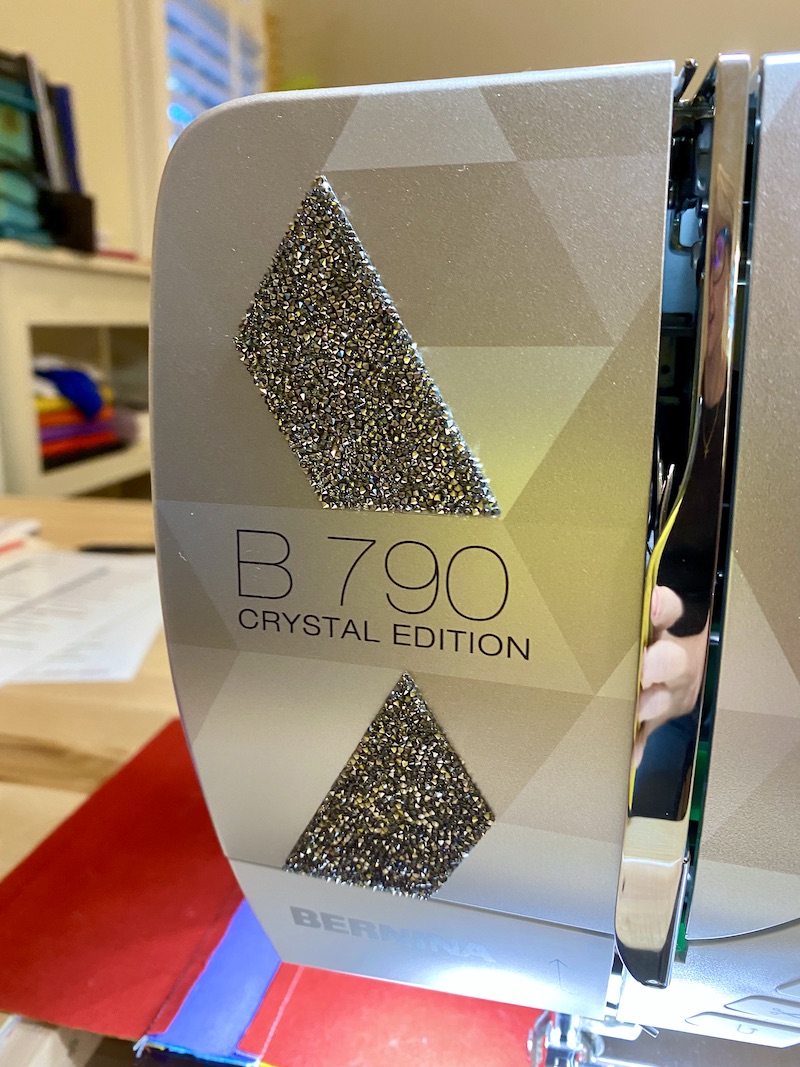 |
| Swarovski Crystal "Bling" on the Faceplate |
The crystal bling was not my favorite, honestly, but if I get tired of it my dealer says he can swap it out for a plain black faceplate whenever I bring it in for service. That was reassuring, just knowing I had that option. What I REALLY wish Bernina would do is come out with a Kandy Apple Red finish for the faceplate, like they put on custom cars:
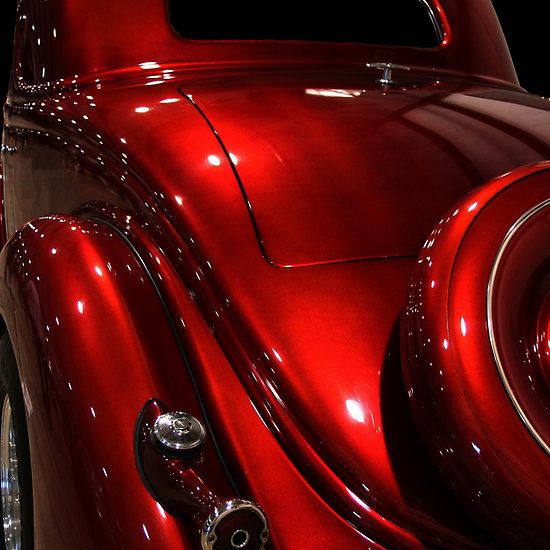 |
| Poison Apple Red Kandy Custom Paint Job |
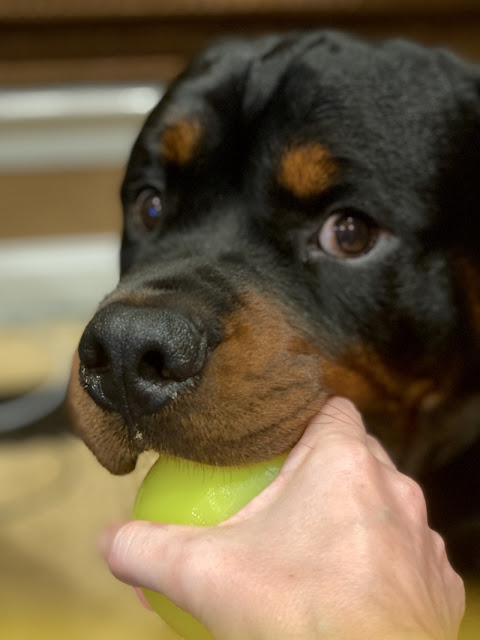 |
| Samwise With Ball |
I'm ending with a puppy pic and a funny cartoon today that totally reminded me of my dog. Sam is totally addicted to chasing this ball and he would do it all day long if his humans didn't end the game so they could get work done/eat/sleep! I'll be sitting here at my desk and he'll drop the ball in my lap, or push it into my hand. So this cartoon made me laugh:
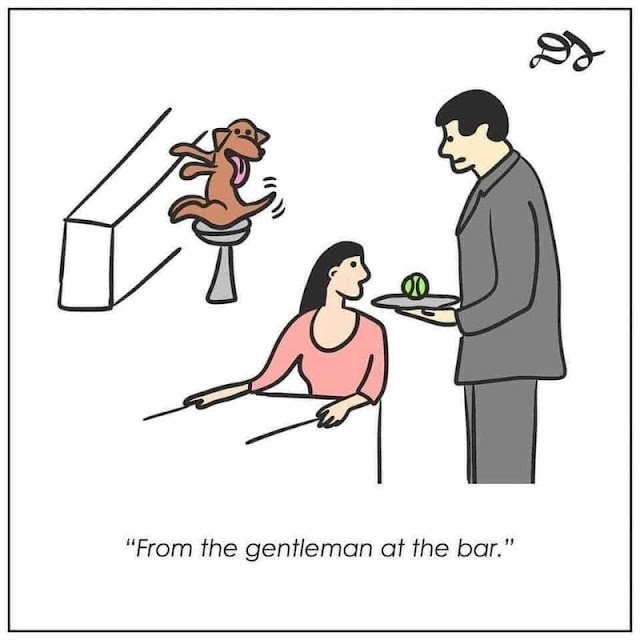
Hah! Okay, that's it for me today. I'll be linking up with some of my favorite linky parties (the list with links is now located on my blog sidebar), and remember to check back tomorrow and link up your finished for TGIFF!
2 comments:
Your quilt is even more breathtaking than in the previous posts! :)
Those family heirlooms are always in such good hands with you! Both the fixed and the finally finished are going to be treasured by their respective owners. I think you're going to have to insure all that bling on Dame Taylor! I'm actually surprised Bernina doesn't make color front pieces -- they did the Tula Pink machine, how much harder could it be?
Post a Comment